
ExamDiff Pro Basic Tutorial #6
How to generate an HTML diff report
Tutorial Description: This tutorial describes how to generate an HTML diff report in ExamDiff Pro.
Video Demonstration
Steps:
- Compare two files in ExamDiff Pro.
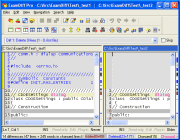
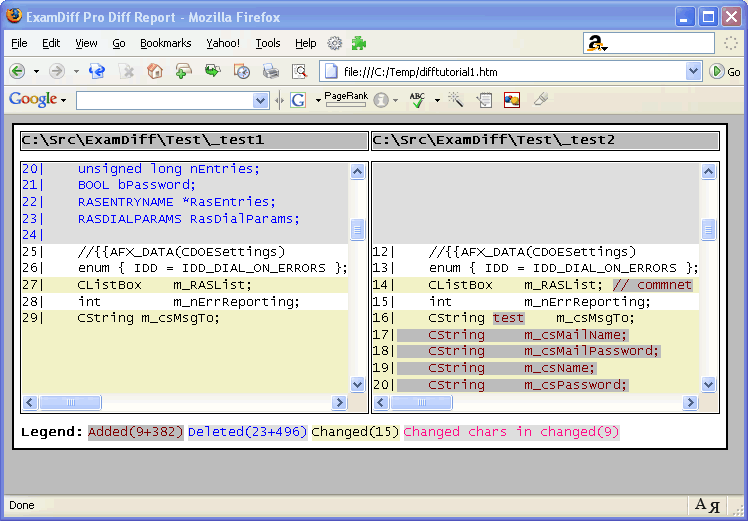
- To view the HTML Diff Report, go to Files | View HTML Diff Report
 . This will
generate a temporary diff report, send it to your browser, and then delete the
file when you are done.
. This will
generate a temporary diff report, send it to your browser, and then delete the
file when you are done.
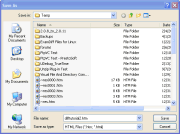
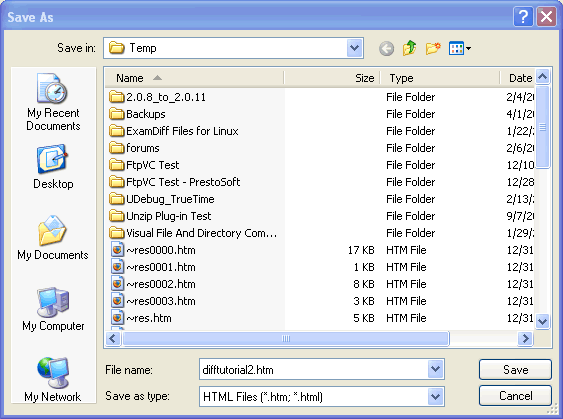
- When you are done viewing the diff report, close your browser. Now if you want to
save the diff report for future use, go to Files | Save HTML Diff Report...
 (or press Ctrl
- M) and select the location you want to save the HTML diff report to in the dialog
that pops up.
(or press Ctrl
- M) and select the location you want to save the HTML diff report to in the dialog
that pops up.
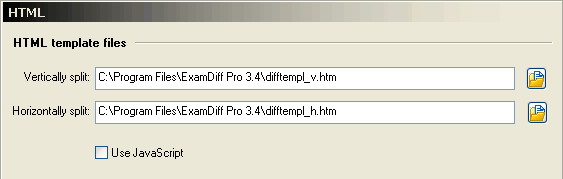
- Finally, let's look at the options for HTML diff reports. Go to View | Options |
HTML. The first set of options let you change the HTML template files, but unless
you are a skilled HTML programmer you should probably leave these alone.
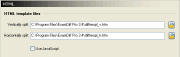
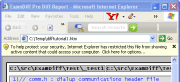
- The other option here is the Use JavaScript option. By default, JavaScript is
used, but if the HTML diff reports do not display properly in your browser, you can
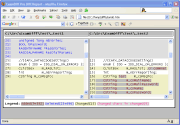
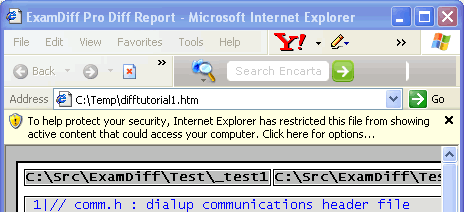
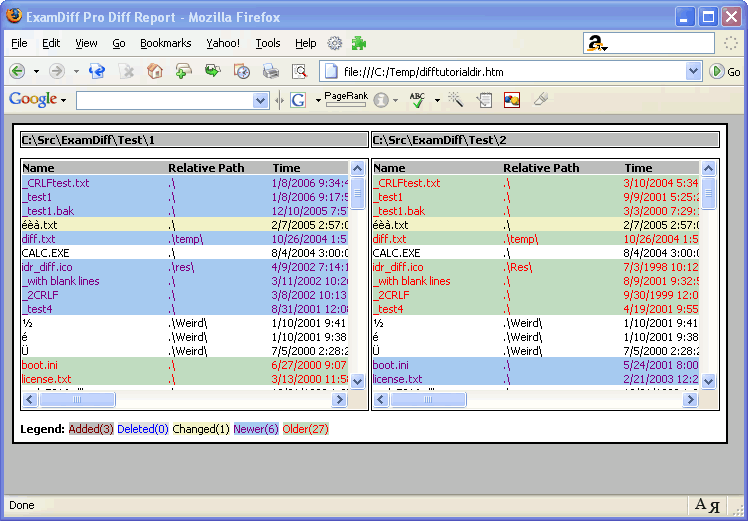
disable JavaScript, which will usually fix the problem. Here is an example of a situation
where JavaScript is unsupported:
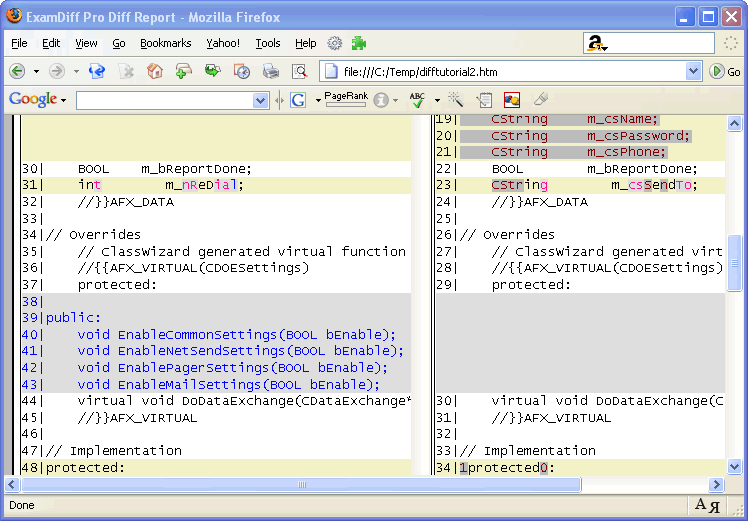
- Let's try disabling JavaScript and viewing the HTML diff report again:
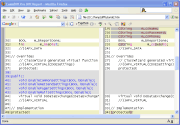
- Note that the two synchronized scroll-bars are now replaced by a single scroll bar on
the right side of the window.
One final note: diff reports can be generated for directories and binary files in exactly the same way: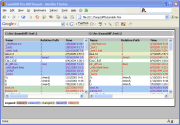

Copyright © 1997-2025 PrestoSoft LLC. All rights reserved.