
ExamDiff Pro Basic Tutorial #10
How to use Shell integration
Tutorial Description: This tutorial describes how to use Shell integration to and from ExamDiff Pro.
Video Demonstration
Steps:
- First let's examine how Shell integration works within ExamDiff. Open ExamDiff
Pro and compare two files (or directories).
- Right click on either comparison pane and select Explorer Menu from the
drop-down menu. Alternatively, you can Shift-Right click on either comparison pane.
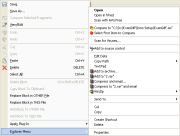
- Now let's try Shell integration into ExamDiff. Open up Windows Explorer, and select
a file or directory. Right click on it and select Select Select First Item to Compare.
Then select another file or directory, right click on it and select Compare to ....
The two files or directories should now be compared in ExamDiff Pro!

- There is also another way to use Shell integration into ExamDiff. Open up Windows
Explorer and select two files and directories. Right click on them and select
Compare. The two files or directories are compared in ExamDiff Pro!

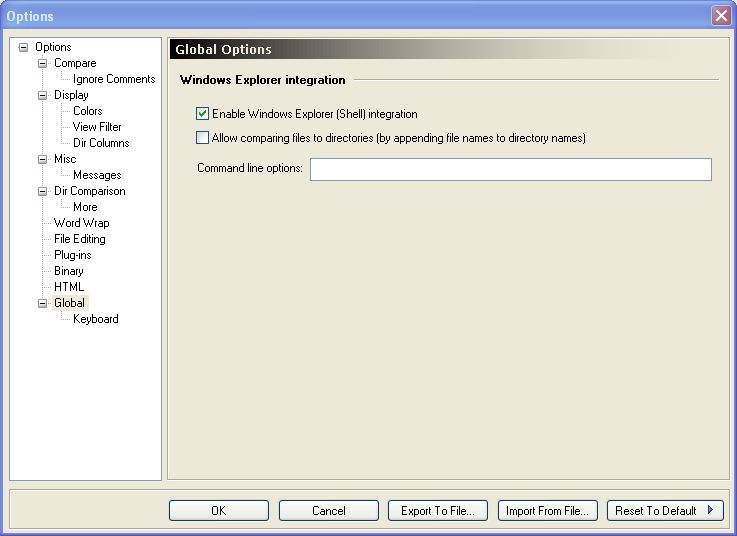
- To disable Shell integration into ExamDiff, first go to View | Options
 (or press
Ctrl - J) to bring up the Options. Then click on the Global tab, and uncheck
Enable Windows Explorer (Shell) Integration.
(or press
Ctrl - J) to bring up the Options. Then click on the Global tab, and uncheck
Enable Windows Explorer (Shell) Integration.


Copyright © 1997-2025 PrestoSoft LLC. All rights reserved.